 Sey
SeyInstall the widget
The Sey widget lets users submit feedback, browse your roadmap, and read changelog updates without leaving your product.
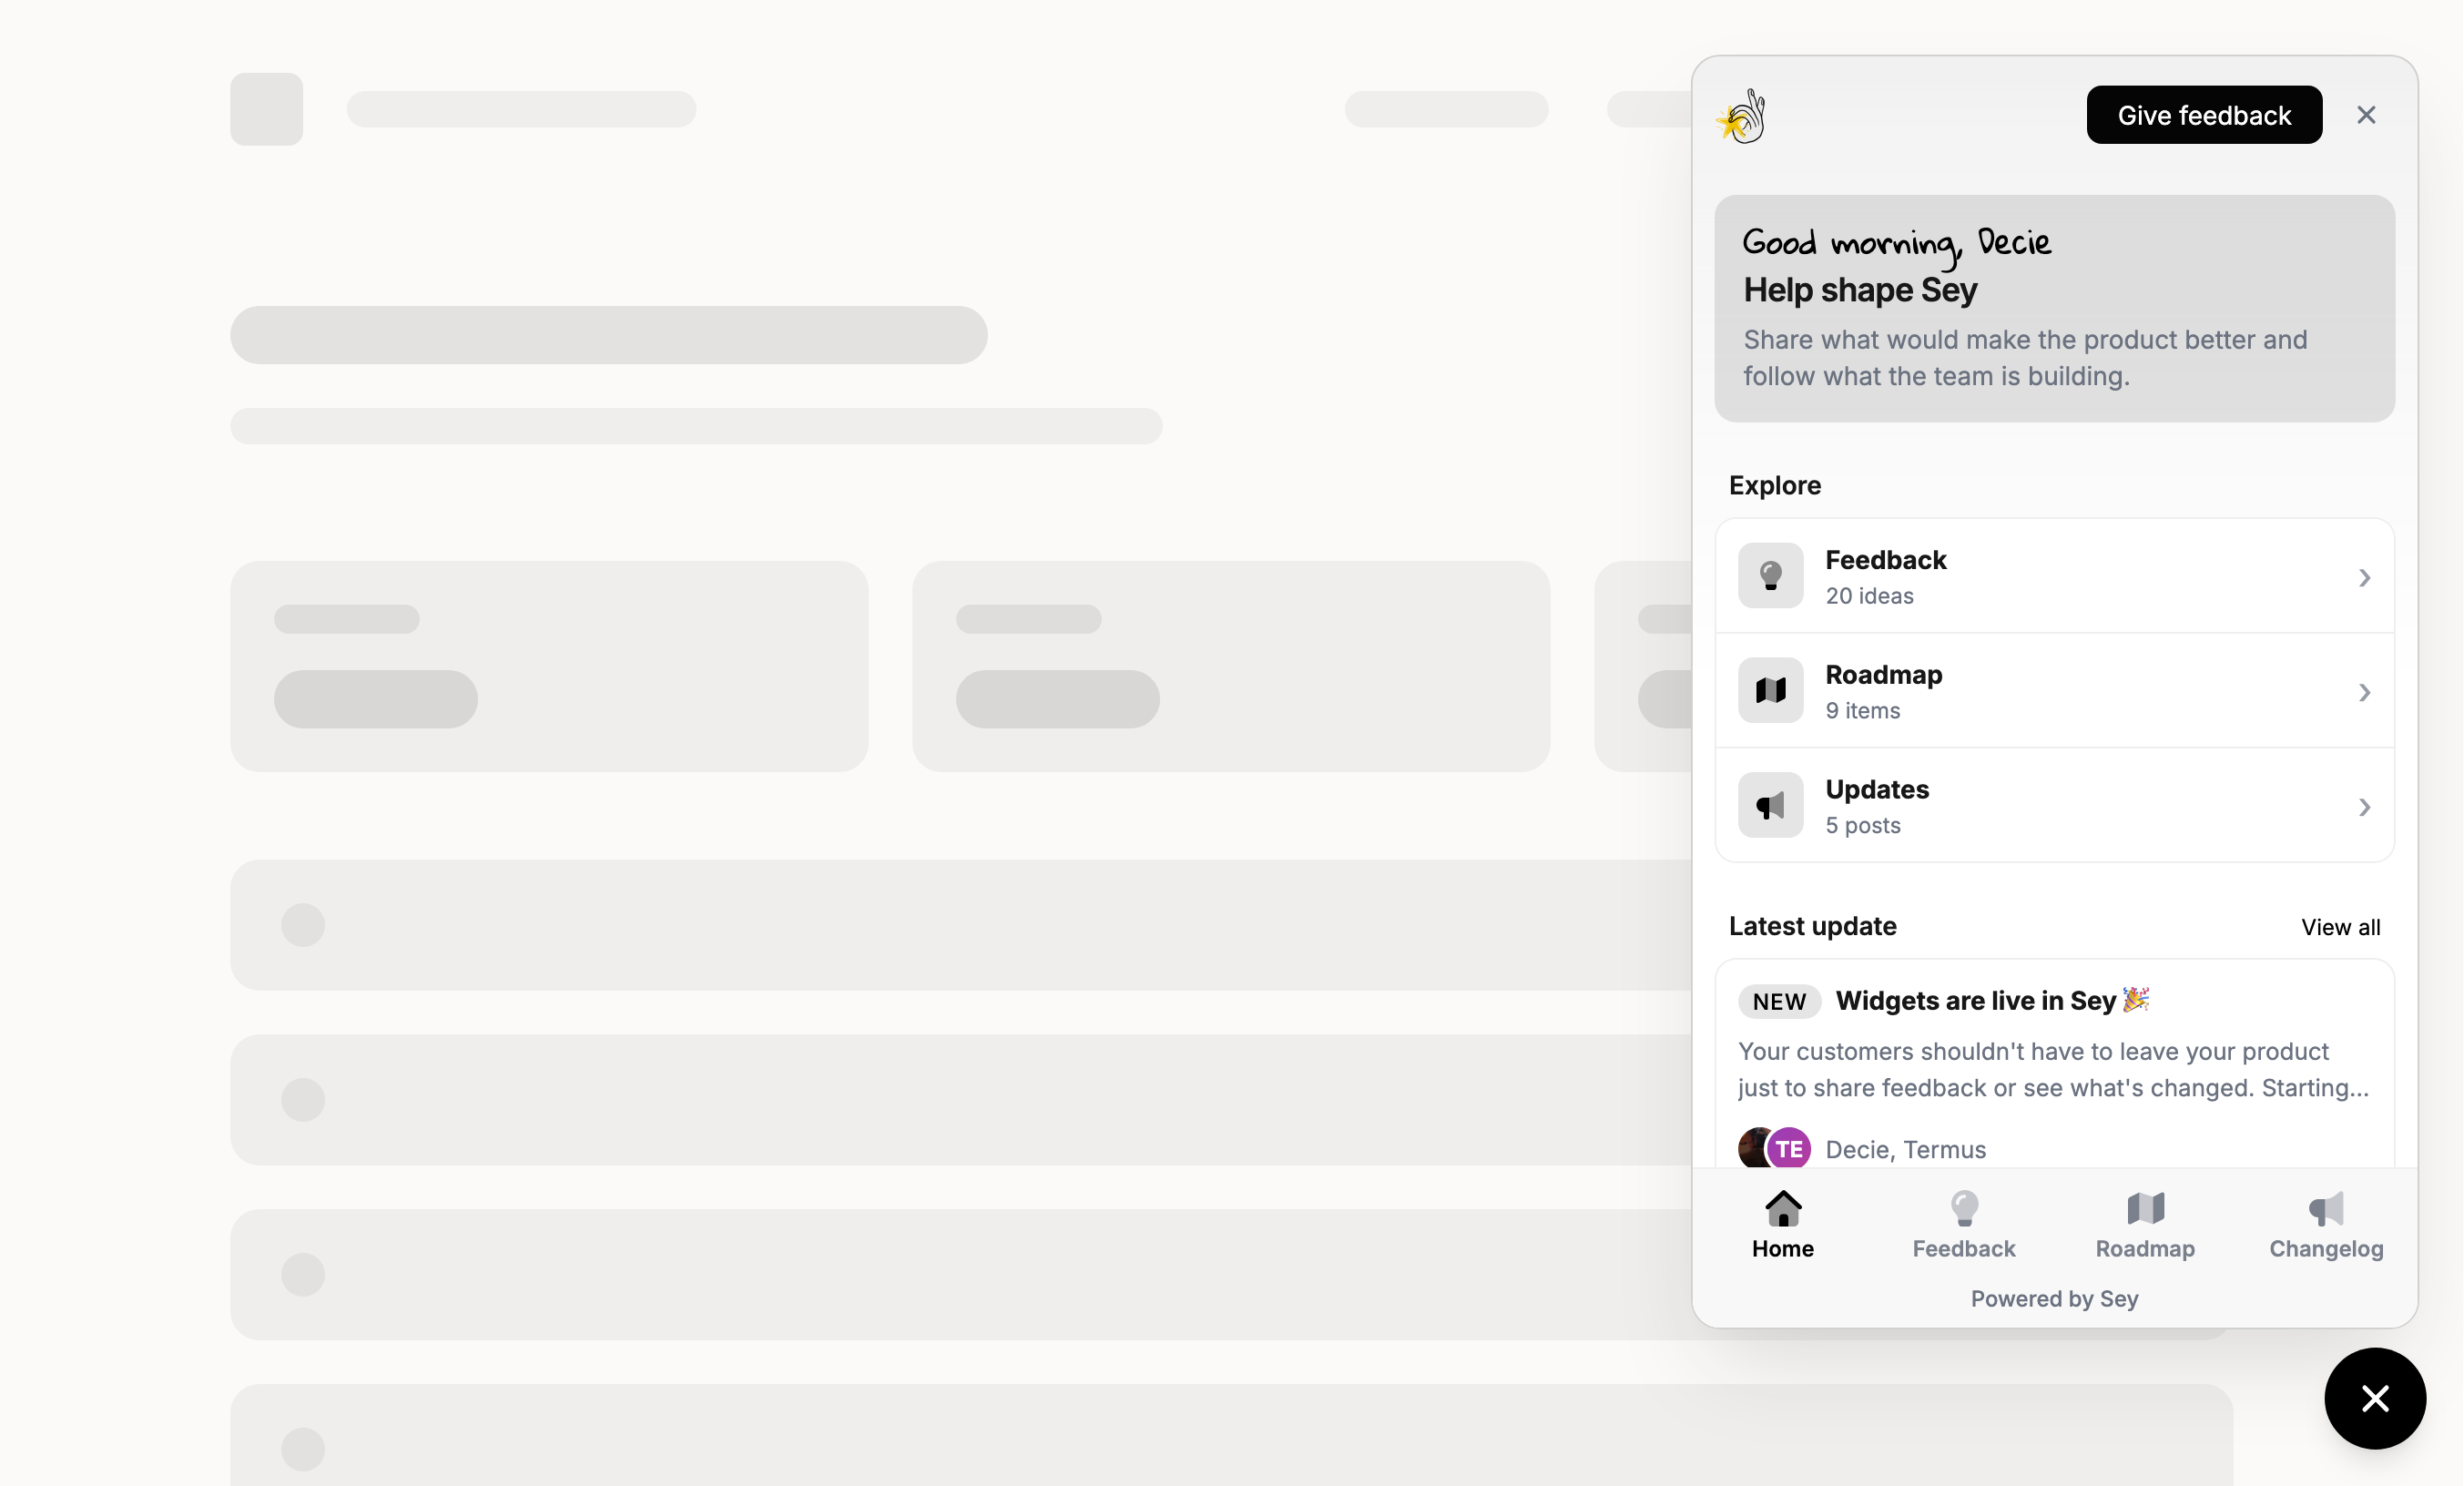
Add the client script
Add the Sey client to your application shell, just before the closing </body> tag. The workspace
ID initializes the client; mountWidget() adds the launcher.
<script defer src="https://cdn.sey.so/client.js" data-workspace-id="your_workspace_id"></script>
<script>
	window.addEventListener('load', () => {
		window.sey.mountWidget({ position: 'bottom-right' });
	});
</script>
Find the workspace ID in Settings → General.
The data-workspace-id attribute initializes Sey automatically. If you load the script without that attribute, initialize it yourself before mounting the widget:
<script defer src="https://cdn.sey.so/client.js"></script>
<script>
	window.addEventListener('load', async () => {
		await window.sey.init({ workspaceId: 'your_workspace_id' });
		await window.sey.mountWidget({ position: 'bottom-right' });
	});
</script>
Install in React and Next.js
Load the client once in your root layout. In Next.js, use the Script component so initialization
runs after the client has loaded.
import Script from 'next/script';

export const SeyWidget = () => (
	<Script
		src="https://cdn.sey.so/client.js"
		strategy="afterInteractive"
		onLoad={async () => {
			await window.sey.init({ workspaceId: 'your_workspace_id' });
			await window.sey.mountWidget({ position: 'bottom-right' });
		}}
	/>
);
For a client-rendered React application, append the script in an effect and initialize Sey from its
load event. Keep the component mounted once at the application shell level.
If your application already has the client script, call init() and mountWidget() directly rather
than loading it a second time.
Install with Google Tag Manager
Create a Custom HTML tag in your web container and paste this code:
<script>
	(function () {
		var script = document.createElement('script');
		script.src = 'https://cdn.sey.so/client.js';
		script.defer = true;
		script.onload = function () {
			window.sey.init({ workspaceId: 'your_workspace_id' }).then(function () {
				return window.sey.mountWidget({ position: 'bottom-right' });
			});
		};
		document.head.appendChild(script);
	})();
</script>
Use All Pages when the launcher should appear throughout your product, or limit the trigger to your authenticated application. Configure the tag to fire only once per page. Use Google Tag Manager's Preview mode to test the tag before publishing the container.
Identify signed-in users
Call identify() after your application has authenticated its user. Use your stable database ID rather than an email address as id.
await window.sey.identify({
	id: currentUser.id,
	email: currentUser.email,
	name: currentUser.name,
	image: currentUser.avatarUrl
});
This associates widget activity with a participant. It does not authenticate the participant on the public portal. Clear the identity when the user signs out:
await window.sey.identify(null);
Match your product
Set the widget position in mountWidget() and use Settings → General to control the workspace logo, theme, accent color, and Sey branding. Preview the widget at mobile and desktop widths before releasing it to everyone.
Finally, open the widget as a test user, submit an idea, and confirm it arrives on the expected board.